Setting the tone
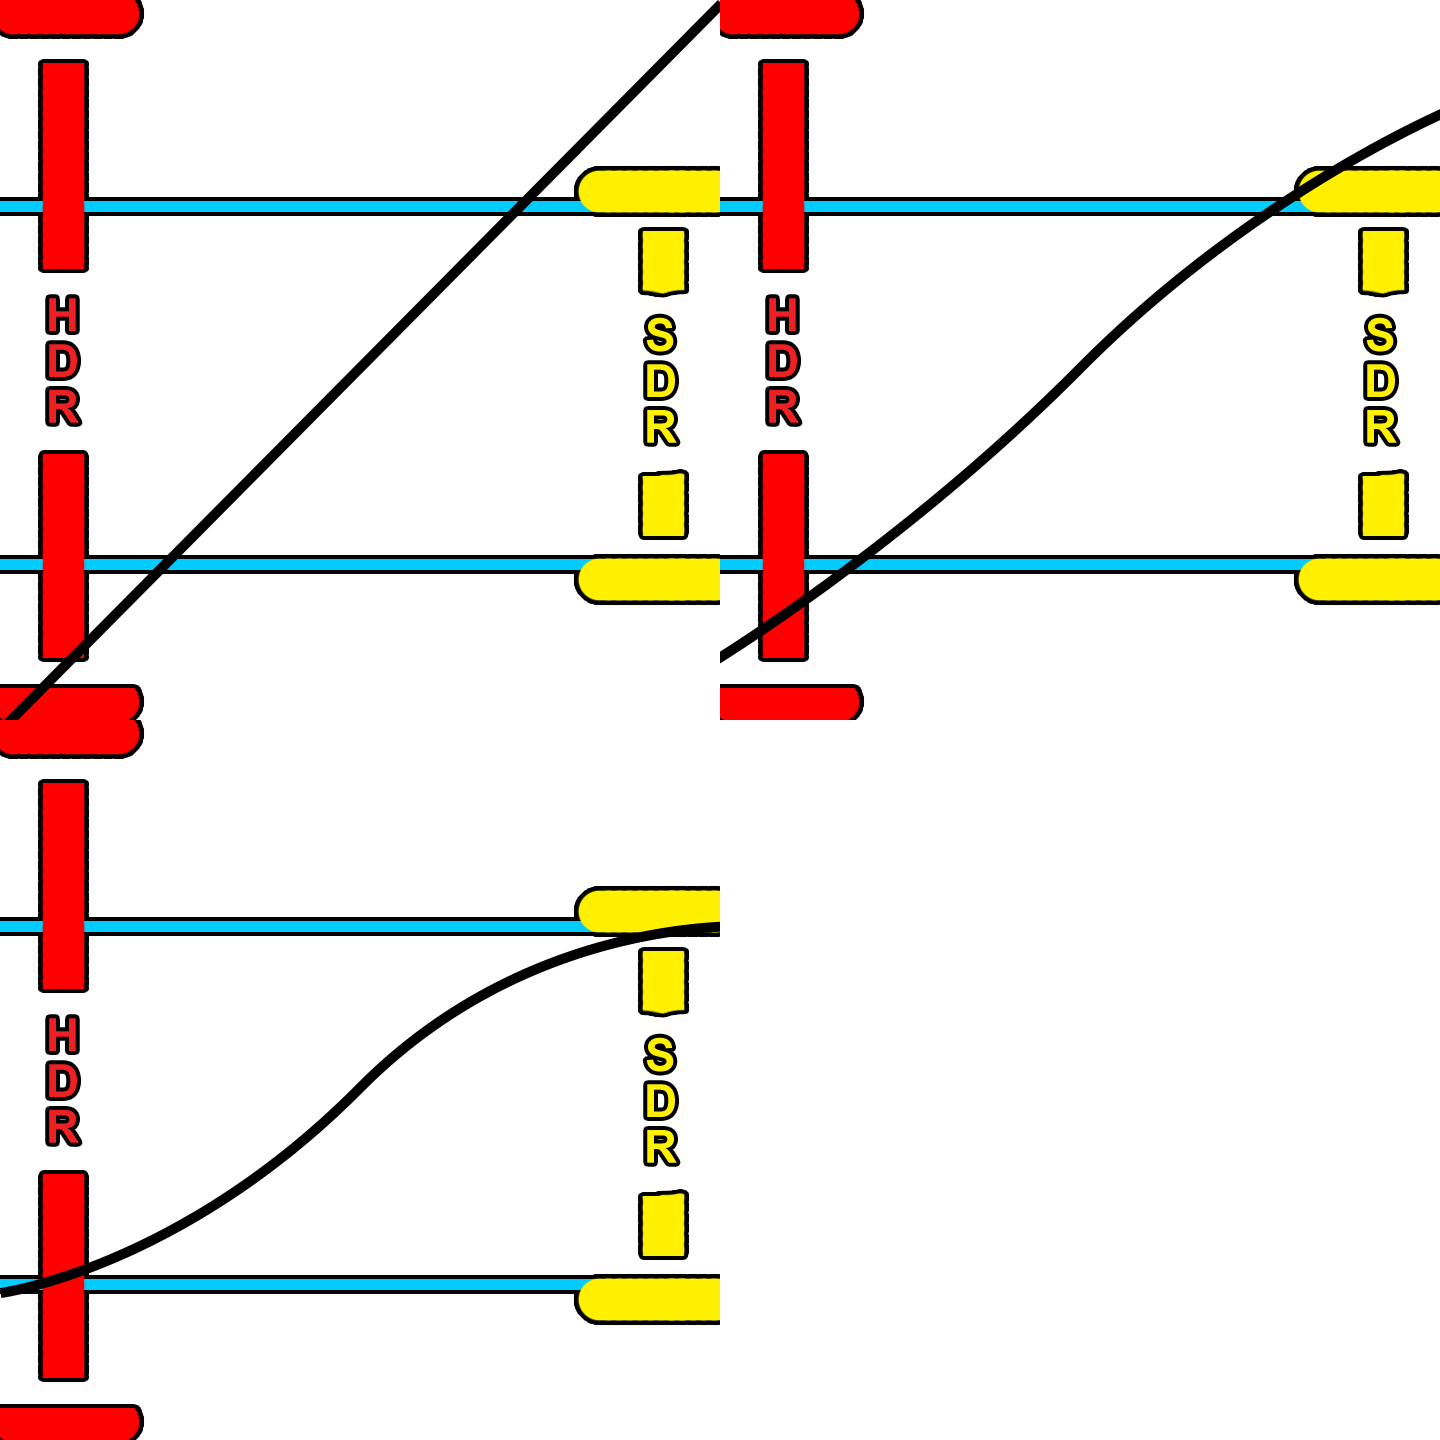
Now that your analysis is complete it’s time to trim. First, you need to set what display output your trim is targeting and the metadata flag for the intended distribution. You can also set any masking that was used so the analysis doesn’t calculate the black letterbox pixels. The most common targets are 709 100nits, P3 48nits, and PQ 108nits. The 709 trim is for SDR home distribution whereas the other two are for theatrical distribution. The reason we want to keep the home video and cinema trims separate is that displays that fall in between two trim targets will be interpolated. You can see that the theatrical 108nit trim is very close to the home video 100nit trim. These two trims will be represented very differently due to the theatrical grade being intended for a dark theater vs home viewing with dim surround lighting conditions. Luckily Dolby recognized this and that is why we have separation of church and state now. The process for completing these trims is the same though, only the target changes.
Trim the fat
Saturation plus lift gamma gain is the name of the game. You also have advanced tools for highlight clipping and mid-tone contrast. Additionally, you have very basic secondary controls to manipulate the hue and saturation of the six vectors.


